
How a garden is planned, step by step
Twelve steps from a plan of the plot to a garden that grows through the year – the way a garden is designed with Megumi Planner. Not every garden needs every step: zones and swales are for permaculture designs. Each step has a short video of the editor at work.
Part 1 Read the land
1. Bring in a plan of the site
Every design starts from the real place. Import a survey, an architect’s plan, a PDF or an aerial photo of the plot, then measure one distance you know – a wall or a dimension line – so everything you draw from now on is at its true size.
In the editor: Import site document📏 Scale
Watch the video 0:28With the plot at true size, it’s time to decide how each part of it will be used.
2. Divide it into permaculture zones
Zones sort the garden by how often you’ll be there. Zone 0 is the house, zone 1 is the kitchen garden you pass every day, zone 2 the home orchard, and further out the places you visit less. Draw each zone on the plan and its area is worked out for you.
In the editor: ZonesZone 0 · HomeZone 1 · Kitchen garden
Watch the video 0:27Before planting anything, follow the water: where does the rain go?
3. Slopes, swales and rain
Set which way the land slopes and how steeply, and the plan shows contour lines and the paths water takes. Lay swales along the contour, add a tank under the roof’s downspout and a rain garden for the overflow, then start the rain simulation to see the water collect and soak in. Each swale shows how many litres it holds.
In the editor: SwalesSwaleRain garden / basin🌧 Start rain
Watch the video 0:30Now that you know where the water stays, you can place the plants that will drink it.
Part 2 Design the garden
4. Trees first, then shrubs and the guild
Choose plants for what the client wants and what the land and climate allow: filter the plant library by sun and role, and set the garden’s climate to see which plants will survive its winters. Place the trees first, then the shrubs, then the support plants of each guild – pollinator attractors, nitrogen fixers, pest repellents and ground cover. Select a tree and its guild check shows which roles are still missing, with plants that would fill them.
In the editor: TreesShrubsPollinatorsN-fixerPlant this bed
Watch the video 0:38The trees will grow tall and cast shade – next, check that every plant still gets its light.
5. Follow the sun and the shade
Pick a date and move the sun across the day to watch the shadows of the house and the grown trees. The shade map colours the garden by hours of direct sun, and plants that won’t get the light they need are marked, so you can move them before they are planted.
In the editor: Show sun and shadowsShow shade mapCheck plants' light needs
Watch the video 0:25The sunniest spots near the house are perfect for vegetables.
6. Raised beds and this season’s vegetables
Draw raised beds in the kitchen garden and fill them square by square. The plant list puts first what can be planted this month, and good and bad neighbours are pointed out. One click can lay out the beds with seasonal vegetables, pollinator flowers at the ends and pest-repelling plants in the middle, each bed with its summer and winter layout.
In the editor: Raised bedPlanting inPlant this bed
Watch the video 0:33With beds and trees in place, connect them with comfortable ways to walk.
7. Paths, lawn and stepping stones
Add the paths people will really walk: a path to the vegetable beds, stepping stones from the deck into the orchard, a lawn for play. Paths, lawns, decks, sheds, ponds, chicken coops and rocks all come from the Structures tab.
In the editor: StructuresPathStepping stones – lightLawn / grass
Watch the video 0:298. Lay out the irrigation
Start at the water source and valve, run the main line, then drip lines to the beds and a drip ring around every tree – one click adds rings to all of them. Pipe sizes are marked on the plan, and the parts list counts the metres of pipe and the drippers to order.
In the editor: IrrigationMain supply lineDrip lineAdd drip rings to all trees
Watch the video 0:32The design is ready for other eyes – before building, ask for feedback.
10. Produce the Garden plan
One click turns the design into a document to print or save as PDF: the garden at maturity, the planting plan and plant schedule, sun and shade through the year, the swales, the irrigation plan with its parts list, and the soil for the raised beds. Everything the team needs to build it.
In the editor: Garden planPrint / Save PDF
Watch the video 0:23Part 4 Plant and grow
11. Build the garden :)
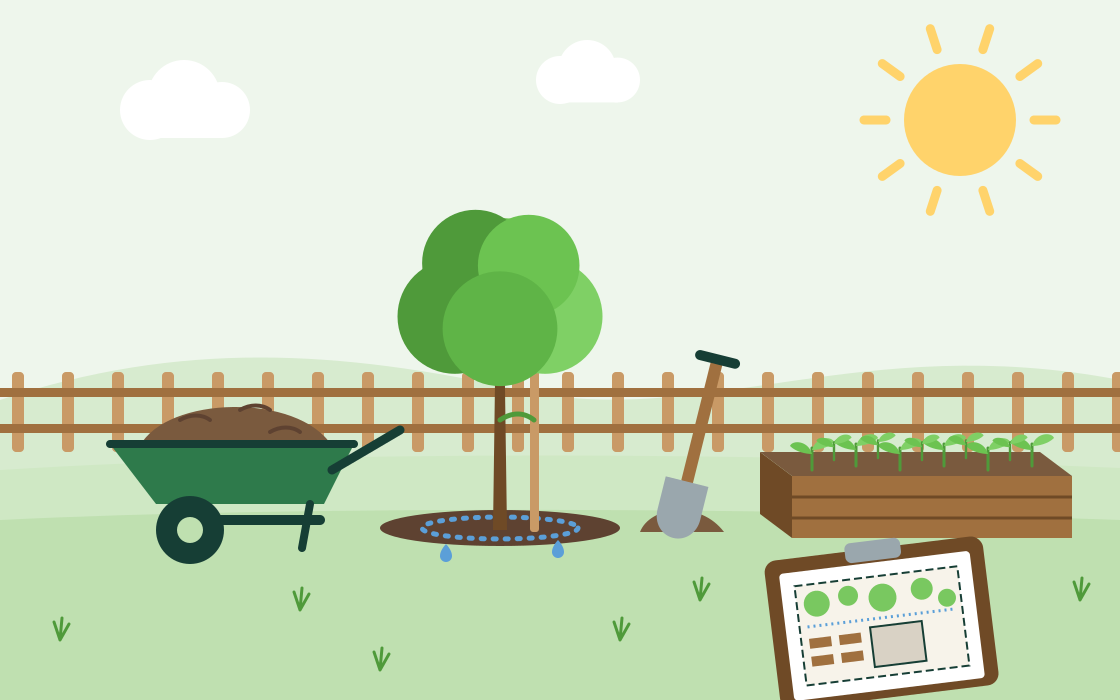
Dig the swales, build the beds, lay the pipes and plant – tree by tree, following the plan. Every plant has its number on the plan and in the schedule, so the team always knows what goes where.
Watch the video 0:23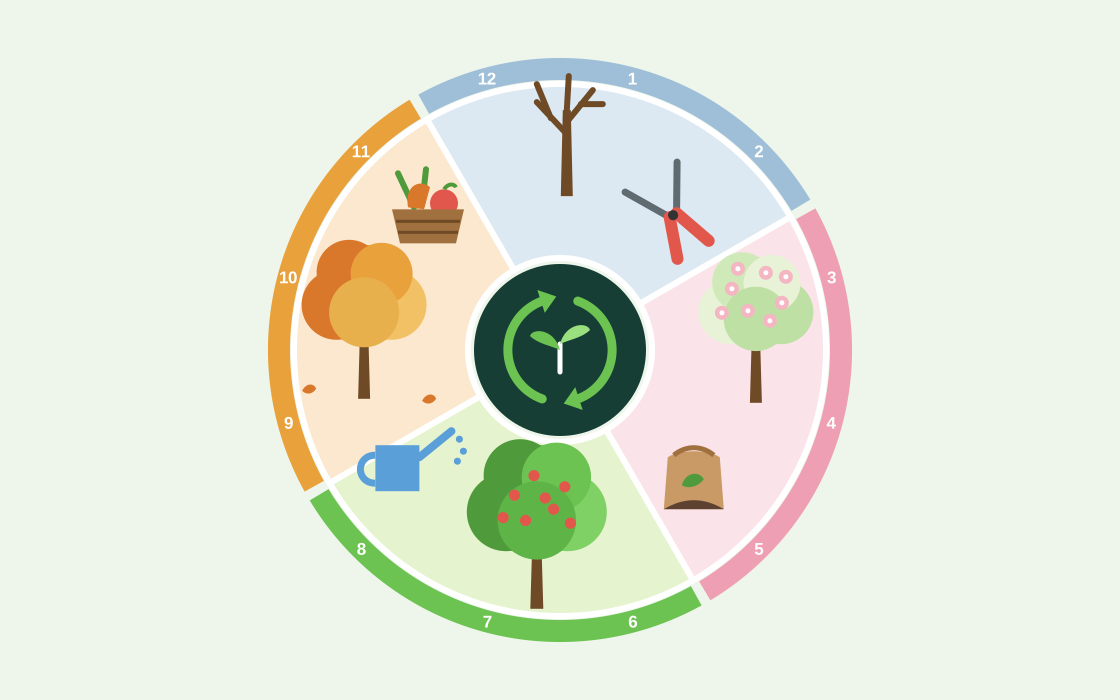
12. Care for it through the year
Prune in winter, feed with compost in spring, water and harvest in summer, and change the vegetables in the raised beds each season. The plan keeps working for you: the growth view shows how big each tree will be in any year, and the beds have a layout for every season.
Watch the video 0:32
Try it on your own garden
Bring in your site plan, set the scale and start placing trees. It is free to start.