
How to Plan a Small Garden, Step by Step
Plan a small garden that works: read the sun and shade, draw it to scale, set priorities, grow upwards, choose compact plants and water well in a hot summer.
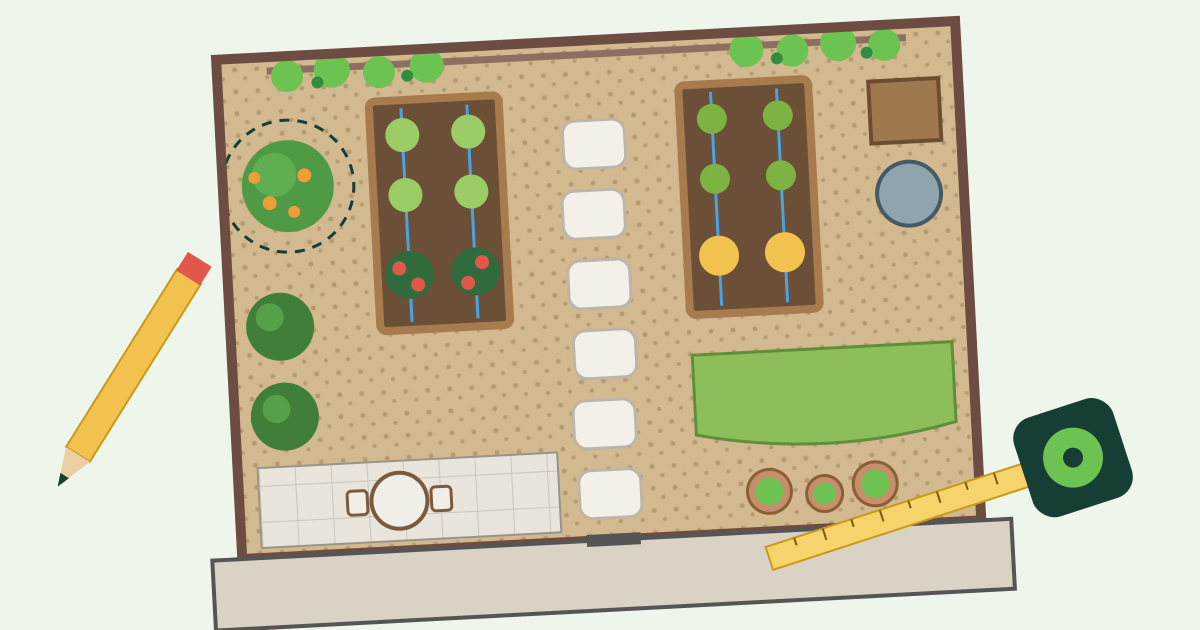
To plan a small garden, first watch the space – where the sun falls in summer and winter, where the wind comes from, where water collects and where you walk – then measure it and draw it to scale, decide on two or three things it must do for you, and only then choose plants, by the size they'll reach when grown, not the size of the pot. In a small garden every square metre counts, so a mistake costs more: one tree in the wrong place can shade the only sunny corner. A plan on paper is the cheapest place to make those mistakes.
1. Watch the space before you change it
Spend a few days, or better a few weeks, just looking. Write down:
- Sun. How many hours of direct sun each part gets. Extension services use about the same scale: full sun is at least 6 hours of direct sun a day, part sun or part shade is 4–6 hours, and shade is fewer than 4. Fruiting vegetables such as tomatoes, peppers and squash do best with 8 hours or more; leafy greens and herbs such as parsley manage with less.
- Summer and winter. The sun is high in summer and low in winter, so the same wall casts a short shadow in June and a long one in December. In Israel this matters twice: the summer sun is strong enough that a little afternoon shade helps many plants and people, while a winter vegetable bed needs every hour it can get. Check the shade in both seasons, not only on the day you happen to be looking.
- Wind. Where does it come from, and where is a sheltered corner? Near the coast that is often the sea breeze; inland, the hot, dry east wind of a hamsin can scorch young leaves in a day.
- Water. Where does rain run and where does it stand after a storm? Where are the tap, the downpipes and the drain?
- Access and use. Which way do you really walk from the door to the bin, the washing line or the gate? Those lines become paths whether you plan them or not.
- What's already there. Trees (yours and the neighbours'), walls, underground pipes and cables, and good soil versus fill. Find out where pipes and cables run before you dig anything.
2. Measure it and draw it to scale
A small garden is easy to measure in an hour with a long tape and a helper. Measure the boundaries, then the fixed things: the house wall with its doors and windows, the tap, steps, existing trees with the width of their canopy, and anything you can't move.
Draw it on graph paper at a scale you can work with – for a yard of 8 × 6 m, one 1 cm square for every 50 cm works well – or in a planning app. Mark north. Then copy your notes from step 1 onto the drawing: the sunny and shady areas, the windy edge, the wet spot. Professionals call this a site analysis, and it is the drawing every later decision is made on.
3. Decide what the garden is for
A small garden can't do everything, and trying to is the most common reason it ends up feeling cramped. Make a list of what you'd like – a table for meals outside, vegetables, fruit, shade, a place for children to play, privacy from the neighbours, a compost bin, somewhere to dry the washing – and choose two or three priorities. Everything else either fits into the leftover space or waits.
Then give each priority the spot it needs, not the spot that happens to be free:
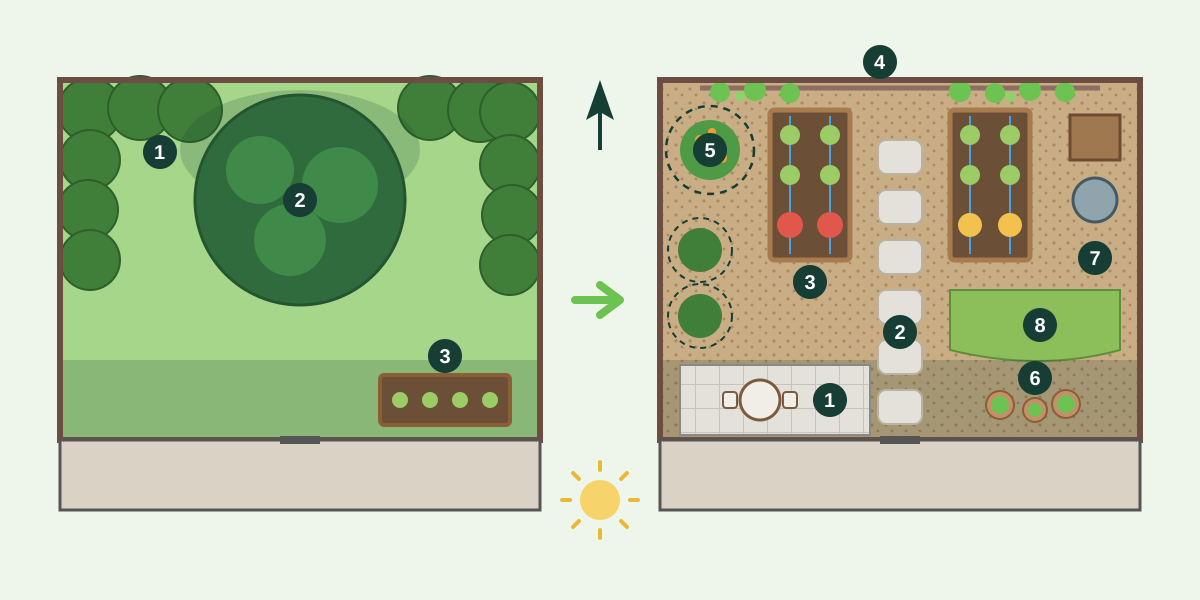
- Vegetables and fruit go in the sunniest part, even if that is the far end of the yard.
- The sitting area often belongs in the shade, or where a pergola can make it, close to the kitchen door. In a hot summer the shady side of the house is the pleasant one.
- Play needs a piece of open ground, which a small lawn or a mulched area can give.
- Privacy may only need screening in one direction – usually the window or balcony that looks straight at you – rather than a hedge all around.
4. Zone it, even when it's tiny
Permaculture designers place things by how often they visit them, from the house outwards. The idea works just as well on 40 square metres: the herbs and salad greens you pick every day go right by the door, the vegetable beds you visit every few days go on the main path, and the things you rarely touch – the compost, the water tank, the woodpile – go in the far corner. You can read more about it in permaculture zones.
5. Grow up, not out
When the ground is full, use the walls, fences and air above it.
- Trellises and fences. Climbing vegetables such as pole beans, peas, cucumbers and small melons take up a narrow strip of soil when they grow up a support. Put tall and trellised crops on the north side of a bed, so they don't shade the shorter plants (in the northern hemisphere).
- A pergola with a deciduous climber, such as a grapevine (Vitis vinifera), gives shade over a sitting area in summer and lets the sun through in winter, when it has dropped its leaves.
- Layers. Under and around a small fruit tree there is room for a shrub, herbs and a ground cover, each at its own height. This is how a plant guild works, and it fits a small garden well.
Remember that anything tall casts a shadow. A 2 m trellis on the south side of a bed is a wall of shade.
6. Beds and containers
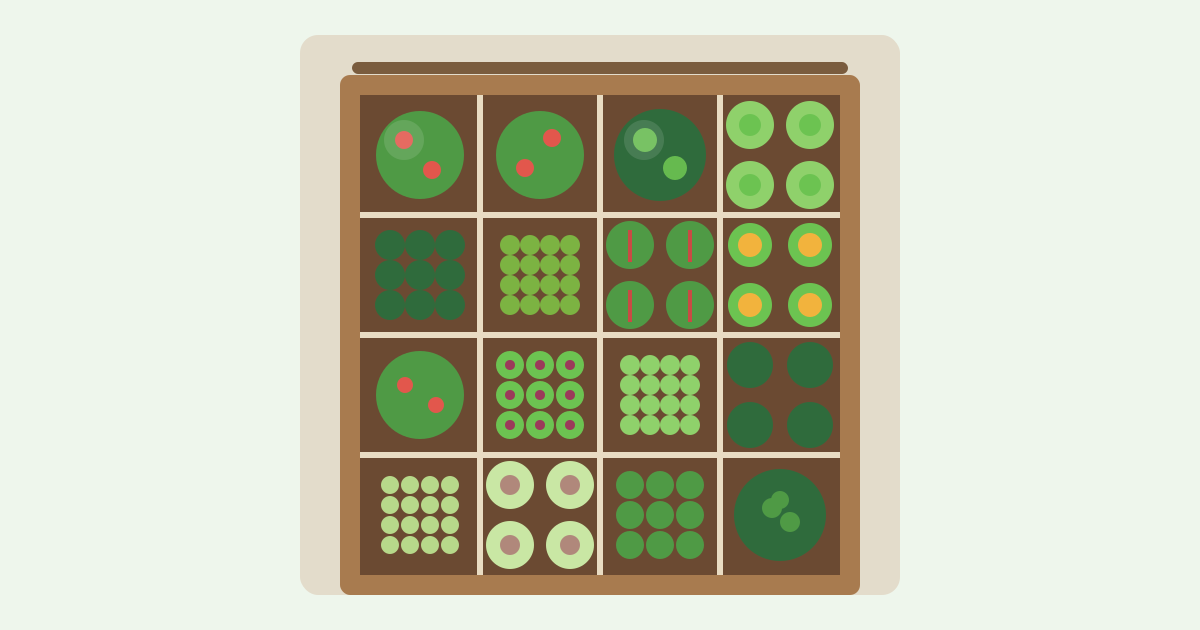
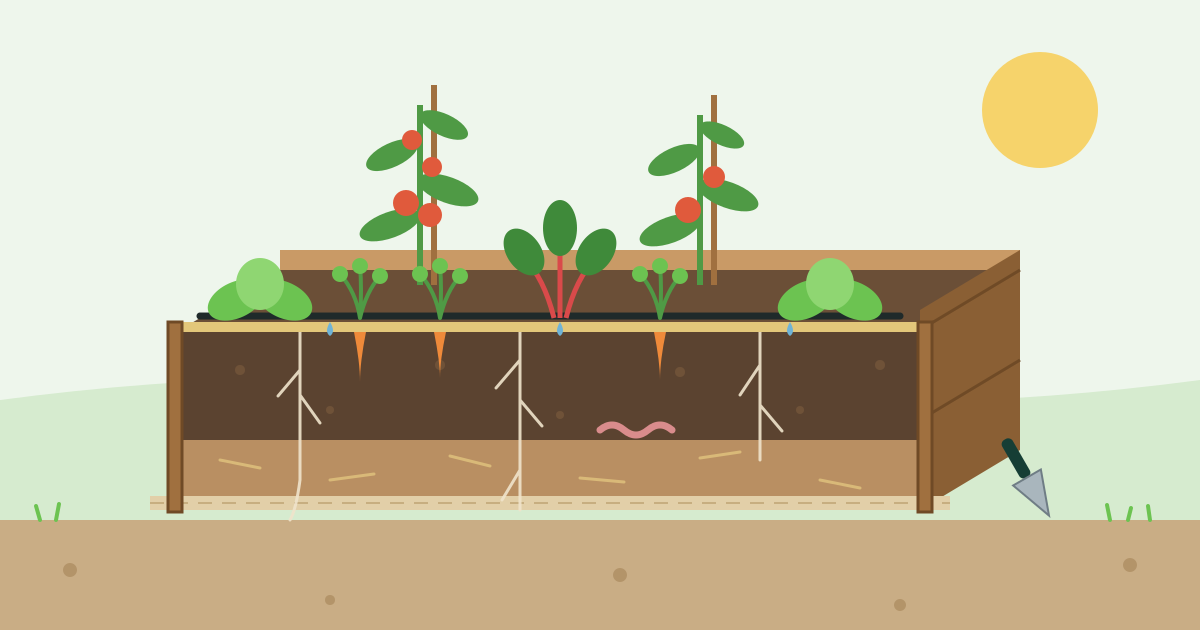
Raised beds are the most productive way to grow vegetables in a small space: you never step on the soil, so you can plant closely, and they make poor or rocky ground irrelevant. Keep them no wider than 1.2 m so you can reach the middle, or 60–75 cm against a fence. No-dig raised beds explains how to build and fill them, and square foot gardening shows how to plant one closely, square by square.
Containers let you garden on paving, a balcony or a roof, and you can move them to follow the sun. Size matters: the University of Maryland Extension recommends at least
| Plants | Container (soil) | Depth |
|---|---|---|
| Tomatoes, peppers, eggplant, cucumber – one plant | 30–38 litres | 30–40 cm |
| Dwarf tomatoes and peppers, beans, chard, beets, carrots | 15–23 litres | 20–30 cm |
| Radishes, spinach, salad greens, basil, coriander | 4–11 litres | 10–15 cm |
| A dwarf fruit tree | 95–115 litres | – |
Every pot needs drainage holes. Small pots, dark colours and clay pots dry out fastest, so in a hot summer choose larger, light-coloured containers and put them on a drip line.
7. Choose plants by their grown size
This is where most small gardens go wrong. A shrub in a 3-litre pot looks small; in five years it may be 2 m across. Look up the mature height and width of every plant before you buy it – labels are sometimes wrong – and space plants by that width. A plant that will grow 1.5 m wide gets 1.5 m from its neighbour of the same kind; for two different plants, take half the mature width of each. Only a hedge or a ground cover is planted closer on purpose.
For a small garden:
- Compact varieties. Many vegetables come in dwarf, bush or "patio" forms. Fruit trees can be grafted on a dwarfing rootstock: a dwarf apple stays roughly the size of a large shrub, starts bearing two or three years after planting, and needs a stake. For peaches, plums and apricots there are naturally small varieties, and summer pruning keeps a tree at the height you can pick from the ground.
- Fruit that stays small by nature or by pruning. Figs (Ficus carica), pomegranates (Punica granatum) and citrus can all be kept small, and pomegranates and citrus grow well in large containers. All three suit a Mediterranean climate.
- Plants that do two jobs. A pomegranate gives flowers, fruit and autumn colour; a grapevine gives fruit and summer shade; rosemary (Salvia rosmarinus) is a low hedge you cook with; a lemon tree is evergreen structure and fruit all winter.
Then check that each plant suits your climate – especially how cold your winters get and how much water it needs in summer.
8. Paths and access
Even a small garden needs a way to reach everything. Give the main path from the door about 1 m, so you can carry a basket or push a wheelbarrow, and leave 45–60 cm between beds. Stepping stones in mulch or gravel take less space than a solid path and let water soak in. Make sure you can reach the tap, the compost and the back of every bed without stepping on soil or squeezing past a thorny plant.
9. Water wisely in a hot, dry summer
In Israel's climate most of the year's rain falls between autumn and spring, and a summer garden lives on what you give it. In a small garden, that is easy to do well:
- Drip irrigation on a timer puts water at the roots, where it isn't lost to wind and evaporation, and it uses far less than a sprinkler or a hose.
- Group plants by their water needs. Vegetables and pots on one line, established fruit trees on another, and drought-tolerant Mediterranean plants – rosemary, lavender, sage – on a third that runs rarely or not at all.
- Mulch every bare surface: it keeps the soil cool and moist and the weeds down. More in mulch in the garden.
- Water early in the morning, deeply and less often, so roots grow down.
- Catch the winter rain. A tank under a downpipe and soil that soaks up rain where it falls cost little in a small yard; see rain harvesting in the garden.
10. Plan for every season
A small garden is seen every day, from every window, so it should look good all year. In most of Israel there are two vegetable seasons: winter crops planted in autumn (greens, cabbage family, peas, fava beans, carrots, onions) and summer crops planted in spring (tomatoes, peppers, cucumbers, zucchini, basil). Plan the beds for both. Mix deciduous trees, which give summer shade and winter light, with a few evergreens for structure, and choose something that flowers or fruits in each season.
Common mistakes in a small garden
- Buying plants before there's a plan. The garden centre is not the place to decide what goes where.
- Planting for today's size. Overcrowded plants compete for light and water, get more disease, and lose their shape. Moving them later costs more than spacing them right now.
- A big tree in the only sunny spot. It will shade the vegetables, and later the house.
- Something along every fence. A thin strip of planting all around leaves an empty middle and makes the space look smaller. Fewer, larger beds work better.
- Too many materials and ideas. Two or three kinds of paving and a simple layout look calmer and larger.
- Forgetting water. Plan the drip lines with the beds, not after them.
Planning a small garden in Megumi Planner
Megumi Planner is a garden planner that runs in the browser, and every step above can be done in it before you buy a single plant. Here's how it fits, based on the 12 steps on the Features page:
- Start from your real yard. Import a site plan, a PDF, an aerial photo or a Google Earth outline, measure one distance you know, and everything you draw from then on is at its true size. You can measure any distance on the plan as you work.
- Choose the kind of garden. Each project has a type – classic garden, vegetable garden, orchard and food forest, or permaculture design – which decides which tools the editor offers, so a small vegetable yard isn't cluttered with tools it doesn't need. You can change it, or show every tool, at any time.
- See where the sun really falls. Give the house, fences, pergola and trees their heights, choose a date, and move the sun across the day to watch the shadows. The shade map colours the yard by hours of direct sun – shade, part shade, full sun – so you can see the sunniest corner in December as well as in June, and plants that won't get the light they need are marked.
- Place plants at their grown size. Every plant in the library is drawn with a dashed circle for its mature spread, and the growth view shows the garden from the first year to maturity. This is the quickest cure for overcrowding: you see two trees touching before you plant them. You can filter the library by light and climate, and add your own plants.
- Build the vegetable corner. Raised beds are drawn to scale with their height and frame; the planner tells you how much soil and compost they need, how many hours of sun each part gets, and what to plant this month, square by square, with a summer and a winter layout for the same bed.
- Paths, patio, lawn and the rest. Paths, stepping stones, a deck, a patio, a lawn, a pergola or trellis, a fence, a shed, a compost bin and a water tank all come from the Structures tab, so you can try two layouts and keep the one that works.
- Plan the water. Draw the drip lines from the tap to every bed and tree; the parts list counts the metres of pipe and the drippers to buy.
- Ask for a second opinion. Share a view-only link with your family or a garden designer, and when the plan is ready, print the garden document with the planting plan, plant list, sun and shade and irrigation plan to take outside.
All the tools for raised beds and vegetables are on one page: the vegetable garden planner.
Frequently asked questions
How do I make a small garden look bigger?
Keep the layout simple, with fewer and larger beds rather than a strip along every fence, and use only two or three materials. A path that bends out of sight, or a tree planted inside the garden rather than at its edge, makes the space feel deeper. Tall plants in the middle distance hide part of the view, so the eye can't take it all in at once.
Can I grow fruit trees in a small garden?
Yes. Choose trees on dwarfing rootstocks, naturally small varieties, or fruit that takes pruning well, such as figs, pomegranates and citrus; grow them in large containers if needed. Give each one room for its grown width, and place it where its shadow won't fall on the vegetables.
What should I do first?
Watch and measure. Draw the yard to scale, mark the sun and shade in summer and in winter, and decide on your priorities. Put in the paths and beds before the plants, and plant trees first, since they take longest to grow.
Sources
- Drawing a Landscape Plan – Site Analysis – University of Georgia Cooperative Extension
- Planning the Vegetable Garden – Virginia Cooperative Extension, Virginia Tech
- What would be a good site for a vegetable garden? – Iowa State University Extension
- Types of Containers for Growing Vegetables – University of Maryland Extension
- Rootstocks and Dwarf Fruit Trees – University of Maine Cooperative Extension
- Proper landscape plant spacing saves time, money – University of Georgia Extension
- Six small garden design ideas – Royal Horticultural Society
- חיפוי קרקע בגינת הנוי – Israel Ministry of Agriculture (Hebrew)
Keep reading
Square Foot Gardening: Grow More Vegetables in a Small Bed
How square foot gardening works: the grid, how many plants go in each square, the soil mix, a planting chart, and how to adapt the method to a hot, dry summer.
How to Plan a Community Garden, Step by Step
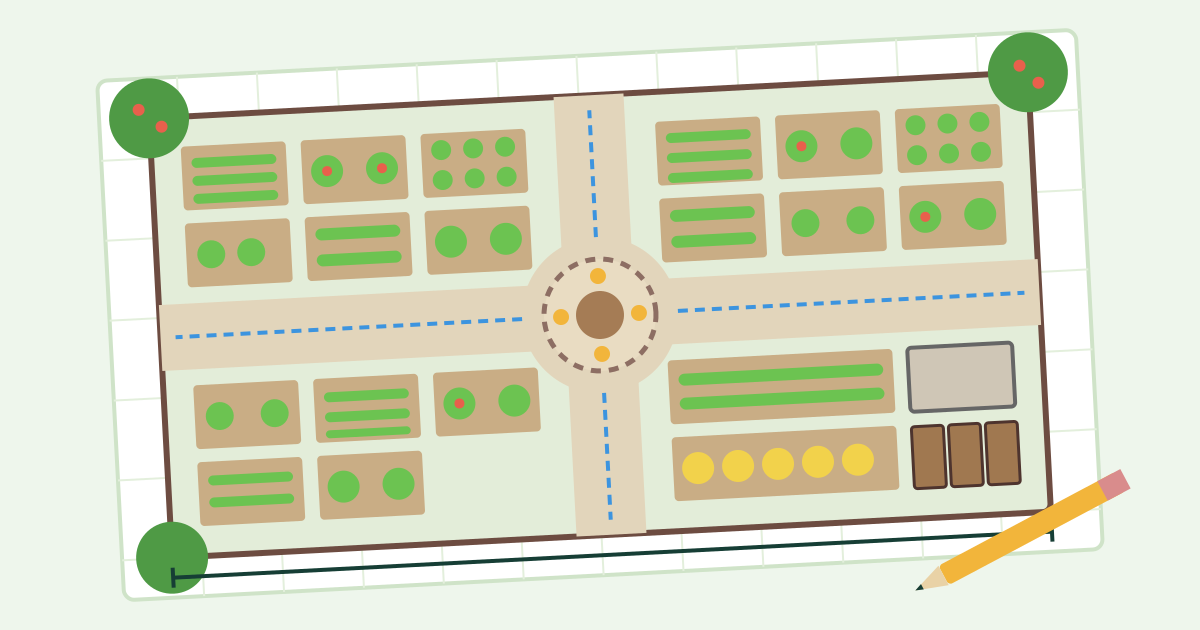
How to plan a community garden: the group, the land and permits, the site survey, plots and shared areas, water, budget and rules – and one shared plan for all.
No-Dig Raised Beds: How to Build Them and Grow Vegetables
How to build a no-dig raised bed for vegetables: size, frame, cardboard and compost layers, planting without digging, feeding, weeds and drip in hot summers.